Showing posts with label monochromatic. Show all posts

Monday, February 2, 2015

catching dreams by sunrise {black & white}


Last fallwhen it felt like all my quilting friends were at Market and I was living vicariously through them on IGa very surprising (and welcome!) comment came through on my feed, from none other than Robert Kaufman fabric designer Jennifer Sampou herself... (The anticipation!)  So when she emailed later asking if I would join in on the Insta Blog Hop to celebrate the arrival of her latest line, black & white, I didn't think twice.


From the start I knew I wanted to do something with feathers (consider it an ode to one of her signature prints in the collection).  Initially I was going to stitch up (and drafted patterns for) over half a dozen different "painted" feathers, but when it came time to decide on a layout, nothing seemed right.  Until I stumbled upon a light and airy dreamcatcher while looking for nursery inspiration...  (Lightbulb!)


I quickly got to work merging all my sketches in photoshop and ultimately came up with this...


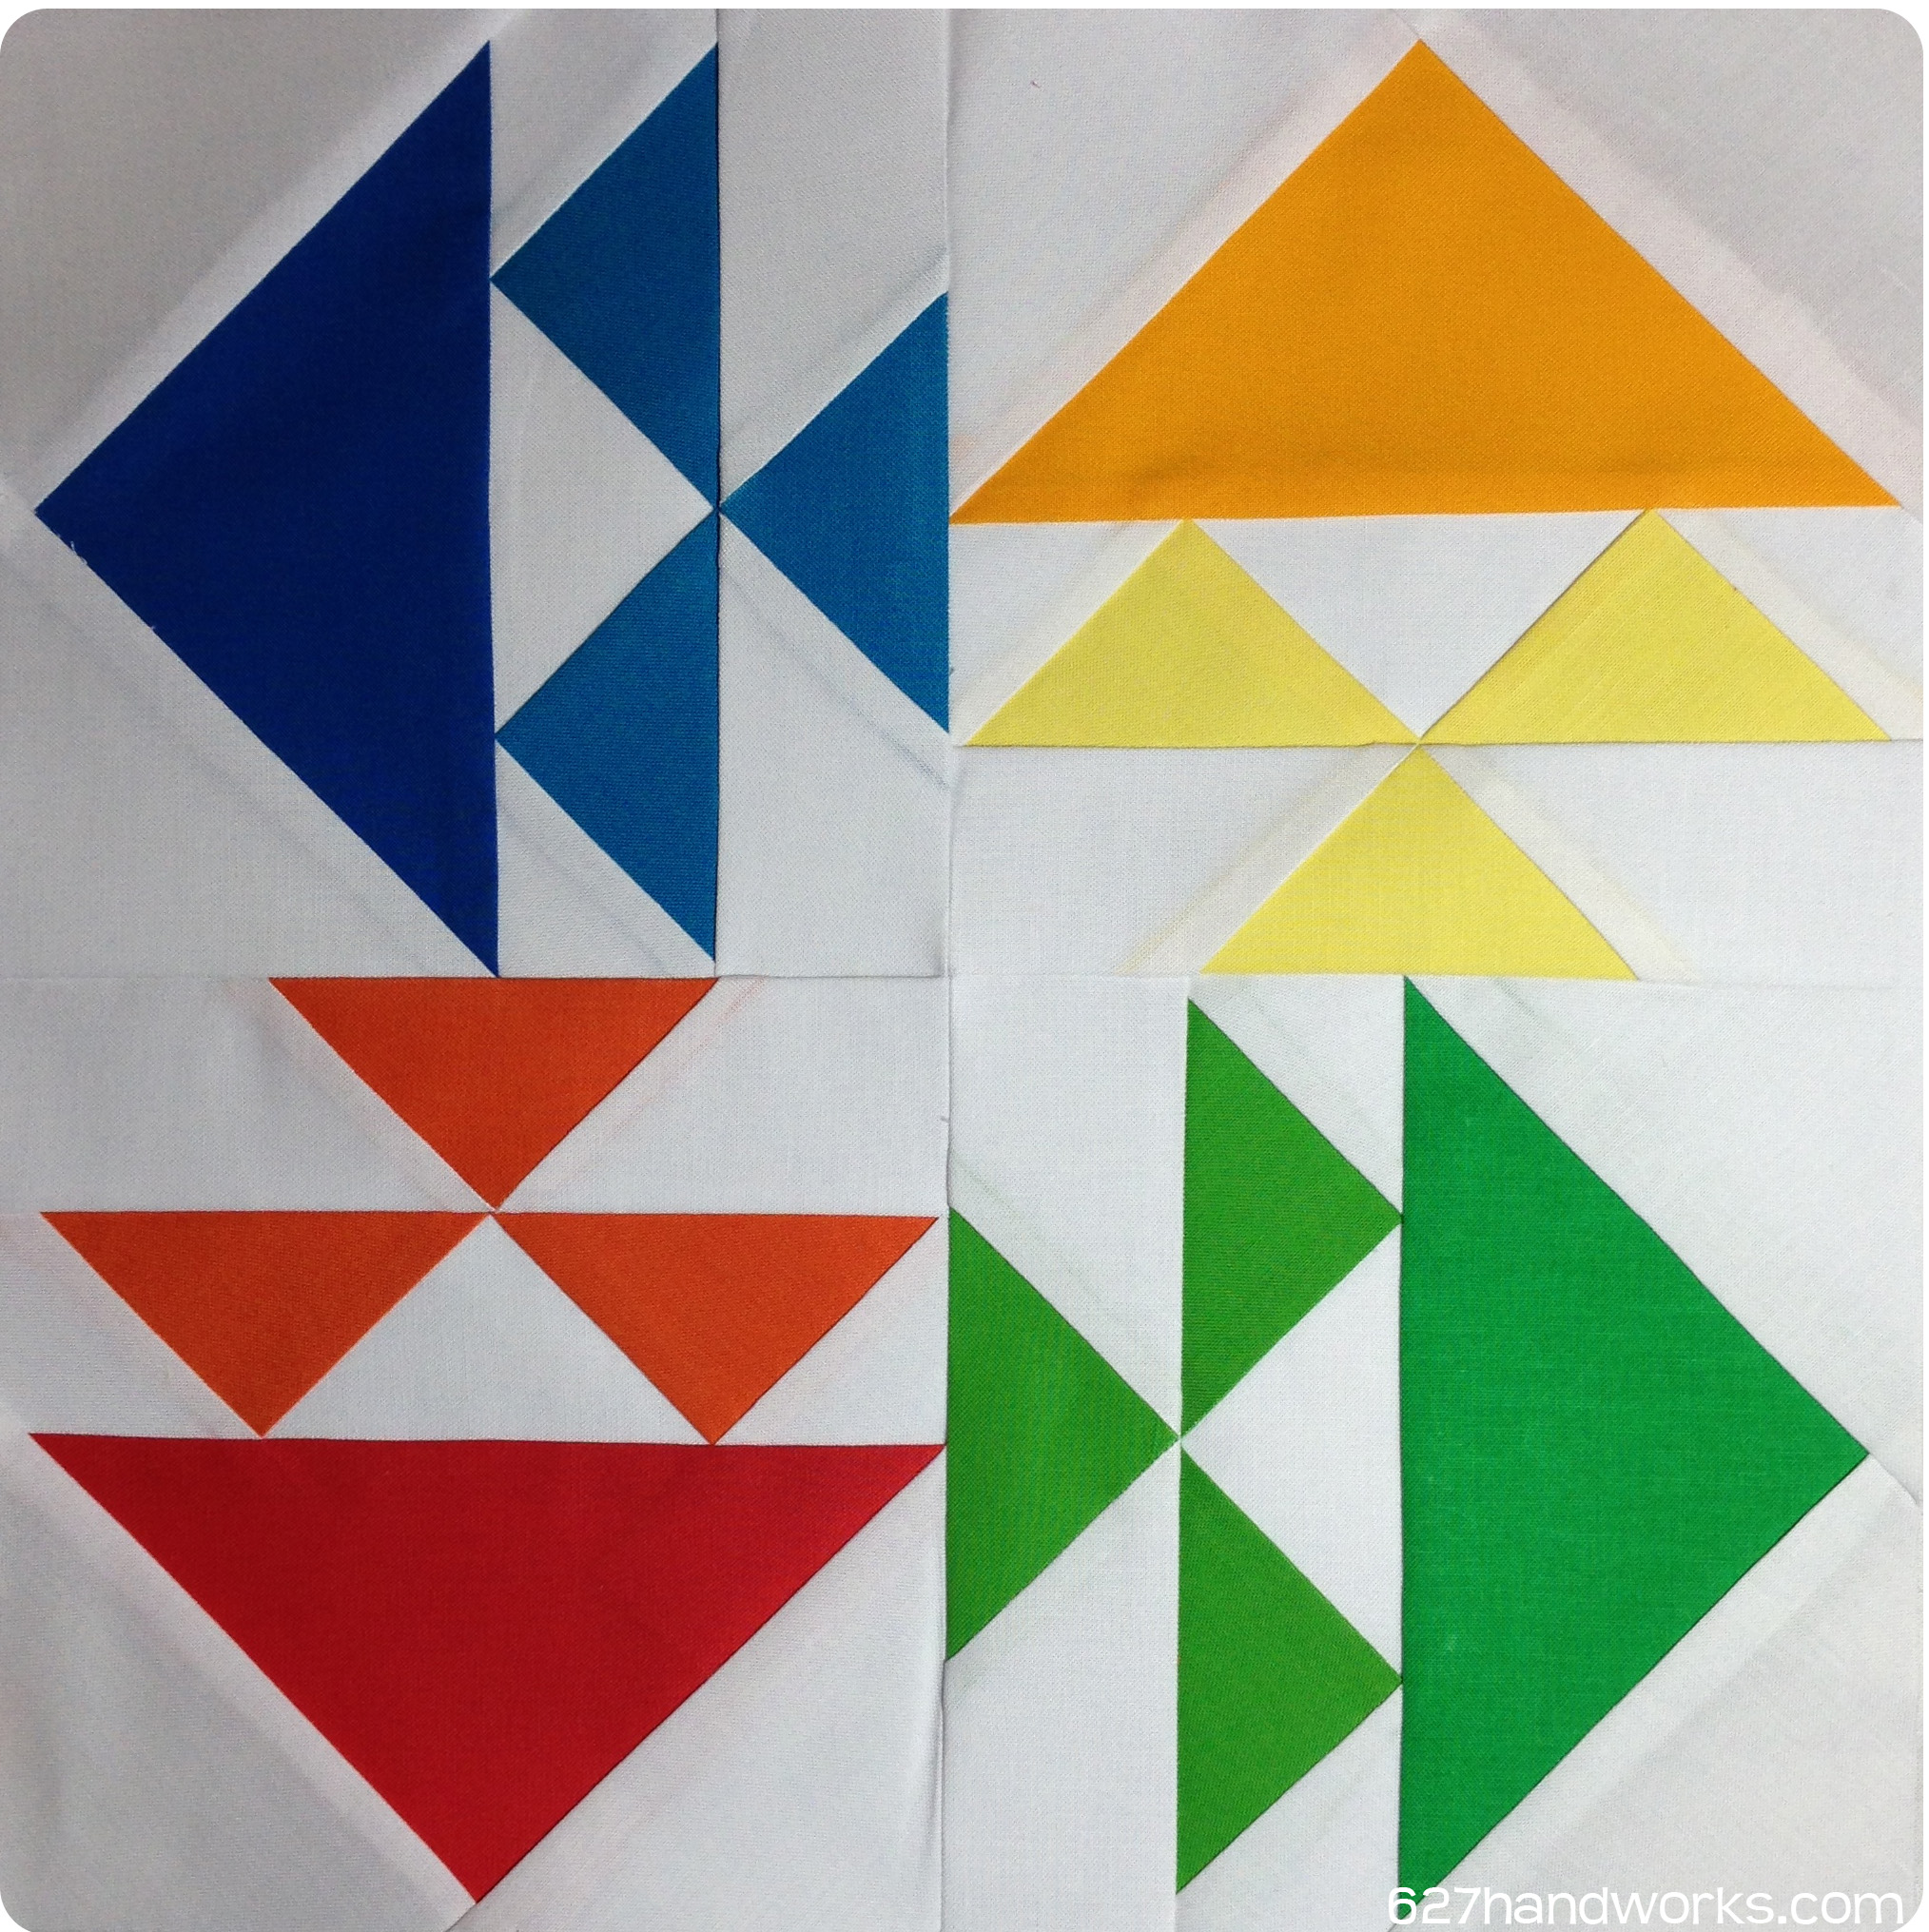
A subdued, crib-sized dreamcatcher dripping with five brightly painted feathers.  Most of the quilt is pieced with black & white fabrics (and coordinating Studio Stash Yarn Dyes) in the "ash" color story.  To add some dawn-inspired splashes of color, I used a range of blazing shades from the kona sunrise charm pack.  (The pack itself also has a great selection of pinks and greens, but I went with the more heated hues to play off the sun rays in the design.)


For the quilting, I was going to stick with what I know best (straight lines along the "rays"), but when I asked my friend Amanda of Material Girl Quilts for a second opinion she suggested I venture outside my comfort zone and try a little free motion quilting.


..I mean I'm no Angela Walters, but e for effort, right? ;o)  For the binding, I used one of Jennifer's Studio Stash Yarn Dyes, with a little fiery gradient from the kona sunrise charm pack for another added pop of color.


And that's that!  Thank you so much to Jennifer and the wonderful folks at Robert Kaufman for the invite and the beautiful fabric.  And lucky for you all, they've also provided this little "taquito" pack for me to give away here...


C'mon, how cute is that?  Just leave a comment on this post for a chance to win.  I'll pick a winner next Monday, February 9th.  Congratulations to commenter no. 9/127, Anita!


In the meantime, there are other great ways to win too!  Jennifer will be giving away a fat quarter tower of the complete collection (just head over to her opening post before February 8th), plus a taquito pack and a copy of one of her new patterns over on IG (just post your own black & white project—or a favorite from the hop!—and tag it with #blackandwhitefabrics and #jennifersampou).  

And of course you can visit all the other stops on the hop for more inspiration and extra chances to win, too!

January 31 Angela Pingel
February 2 Sarah Sharp - {no} hats in the house << you are here :o) >>
February 7 Jennifer Sampou

Thanks for stopping by :o)

Thursday, October 9, 2014

skipping in the rain {and a giveaway!}


Not surprisingly, Juliet of Tartan Kiwi is at it again with her mad paper-piecing skills.  As I'm sure some of you might recall, she recently debuted a massive bear, which turned out to be a wonderful reason to break into my newly acquired stash of oakshott lyon and summer stripes:


This time, she's dreamt up a playful silhouette, skipping in the rain with umbrella in hand.  Okay, technically she's "Singing in the Rain." :o)  And because my oakshott, liberty, and low volume stashes are the only fabrics that aren't packed away in bins at the moment, my selection should come as no surprise.  Though I originally had my heart set on a favorite watercolor tana lawn print (tresco c) for the umbrella...


Until it occurred to me that the limited bit I had to begin with had already made its way into liberty and justice for all.  But all was not lost!  Because I soon realized that this would be a perfect start to a quilt for our niece (my cousin and his wife live in London, and I actually picked up this black and white floral on my celebratory trip to Shaukat when we were in the UK for their wedding last fall).  Full circle :o)  Of course I'm hoping they can tell it's a girl dancing in the rain.  ...My husband thought it was someone running with a large rock for a head.  (Perhaps I should've seen that coming and opted for a striped umbrella per Juliet's original pattern.)


Speaking of which, if you're wanting to try out this pattern yourself, Juliet has offered to provide one lucky ready with a complimentary copy of this pattern plus two others of the winner's choosing!  (And yes, that includes big bear!)

To enter, please leave a comment below.  I'll pick a winner next Wednesday (October 15th).  For those of you who just can't wait until then, you can grab this pattern for just $2 over the next two days in Juliet's craftsy shop.  And as an added incentive, Juliet will even refund your money if you win :o)

Happy sewing, everyone!

Sunday, October 5, 2014

#opgivewarmth {october 2014}

Seeing as more than half my social media faves these days tend to be indigo-inspired (think all that shibori dyed goodness), this month's #opgivewarmth palette should come as no surprise...


And because it also happens to be my month as quilter for my do.good circle (believe), I've asked my bee-mates to make simple geometric patterns of their choosing in an inky blue monochromatic colorway for an eclectic mixed-print design that's been brewing in my head for too long (read:  long enough for me to recognize that its best chance of coming to fruition is with the help of some friends).


So last night I had fun with some stripes, half-rectangle triangles and a teensy 1/2" checkerboard.  So much so, that I hope to carry over the print-mixing theme into this month's batch of #opgivewarmth blocks.  Indigo plaid, pluses, and plenty more to follow!

For those of you who missed the announcement (or would like a refresher), this project is a monthly callout for charity blocks that will benefit My Very Own Blanket (specifically, children in the Indiana foster care system).  All styles and piecing methods are welcome.  I only ask two things:  (1)  that your block(s) fits a 3" grid system (i.e. finished sizes of 3", 6", 9", 12", 15", etc., so add a ½" to each of those to allow for seam allowance), and (2) that they mesh with that (or any prior) month's color palette:


Address for #opgivewarmth blocks:

My Very Own Blanket
c/o Sarah Sharp
P.O. Box 4586
Carmel, Indiana 46082


source

Thursday, July 17, 2014

slacking {...and swapping}

Oh hello there ;o)

So... where've I been the past month and a half?  According to the archives, not here.  (Oops!)  And not really at the sewing machine (I only wish I were cool enough to have that many secret projects going on).  No no, instead I've been preoccupied with work (the non-sewing kind), closing on our house, and spending some much-needed time with the fam'.  So not too shabby, really :)

But I have had a few snippets of time to catch up on some sewing.  Namely, my Schnitzel & Boo mini swap!


So I had Shannon (@piecefulkwilter) and I was smitten as soon as I saw the questionnaire:

Jewel tones.  Low volume.


Plaids.  Stripes.  Dots.  Scrappy.


Bright.  Bold.  Graphic.


And of course I couldn't resist adding some more feedsacks and earthy oakshott to the back.  Plus a sharpie label.  Boom.  Done.  :)


Of course the upside to parting with this little quilt was knowing it was always destined for such a deserving (and appreciative!) recipient.  Because at the end of the day, it's the giving away that fuels most of the making in this house :o)

Friday, May 30, 2014

in LOVE {AMB blog tour :: Indiana}

I have to say, I was pretty ecstatic to get Candice's invitation to participate in the American Made blog tour the other month.  My mind immediately started off in a million directions.  (...One might even say it was racing.)

At one point I was considering jampacking all-things-Indiana into a checkerboard layout; as in, sixteen snippets of Indiana-isms, each in its own 1.5" square package.  (I do have an affinity for tiny piecing, after all!)  Because really, there's so much to choose from!  Abraham Lincoln's boyhood home, Hoosiers and basketball, home to Raggedy Anne, James Dean, and the publisher of The Saturday Evening Post; a small town in Indiana even stakes a claim to the former "Circus Capital of America."  What's not to love about all that?

But at the end of the day, I decided on something a little more, shall we say, straightforward...  simply in LOVE:


Robert Indiana's iconic LOVE symbol embossed on a checkered flag (a nod to the ever-popular Indy 500, which just celebrated its 98th running this past weekend).  A big shout out to my friend Amanda who encouraged me to use our state's abbreviation rather than the full name ;o)  To mix things up, I jotted it down in lowercase cursive, and then used a gray perle cotton that my friend Heather gave me.  (Aren't creative friends the best?)


And because I couldn't make just one, I also started a little red, white and blue tribute...


American LOVElies.  Which are soon to be joined by the full spectrum of colors, as I couldn't resist cutting into all 50 hues that AMB sent my way!


Want to make one, too?  Great!  The only special items you'll need are template plastic, your paper-backed adhesive of choice (I used Therm O Web HeatnBond Ultra), and the 5.5" LOVE template, which I will upload soon, so check back in over the weekend for that :o) Just remember to print at 100%!

Here you can see my various stages of progress:  
reverse LOVE template (bottom right) | traced+pressed LOVE emblems (left) | (partially) cut out LOVE (top right)  

The quick (as can be) and dirty for a 6" block:
Using 2" squares, piece two sixteen patches, pressing seams open as you go.  One of these will be for the LOVE lettering, and the other for the background.  Then, after creating a plastic template of the LOVE symbol, use it to trace the *mirrored* lettering onto the paper side of the adhesive.  Loosely trim around the symbol, leaving a little room beyond the letter lines (you'll cut more precisely once it's fully bonded to the fabric).  Next, center the adhesive on the *wrong side* of the sixteen patch (the one you made specifically for the lettering), and press according to the setting instructions.  Once it's secure, carefully cut out the symbol and then remove the paper.  Finally, overlay and line up the checkered LOVE symbol on the background block, press to secure, and channel your inner Casey York and finish the applique in your method of choice!

The block will finish at 6" x 12"
And if you're lucky, you just might be able to get started on your own American Made love... because the AMB folks are giving away a pack of eight fat quarters!  (And not just Indiana, but one for every state in the whole U.S. of A., so go check out the other states'  plates!) 

To win here, just leave a comment on this post :o)  Easy peasy!  A winner will be announced June 3.


Edited to add:  Congrats to No. 63 Carmen N.!  


Follow on Bloglovin

Sunday, May 18, 2014

BQF: marley of the sea {scrappy}

My second entry into the Spring 2014 Blogger's Quilt Festival (scrappy category) has certainly gotten less face time than the first.  But it's still one of my favorites.


This quiltMarley of the Seawas my first design as "quilter" for my do.Good circle (Believe).  For starters, I have to say I can't really take credit for the quilt as the majority of the blocks were stitched by my incredible beemates.  So right off the bat, shout out to the (old) group, who channeled their "inner Cath of Wombat Quilts" (my most telling request) with great success:  Allison, Ben, Big Mama Quilts, Debora, Lisa, Nicole, Tara, and Vanessa.


Now, back to the quilt.  Per usual, my first course of action as the 6" blocks came in was to sort by (background) value:  light gray, medium gray, dark gray.  As the three little stacks grew, I cut a few more blocks to even them off and then started to think about layout.

Julie's original Marley ("Three Little Birds") block

I originally intended to use Julie of 627handwork's exact block layout, but with 20-some odd blocks together there was a little too much chaos with the directional change alongside the haphazardly distributed blues (hard as I tried, in the end I was only able to color sort by one of the two block colors—the blues lost out).


But rather than abandon the layout entirely and start from scratch, I quickly turned the blocks so they all faced the same direction.  Just to see how it looked. And prestochaos contained.  So I stitched the top together, straightline quilted it with Aurifil 2021 and then snapped these wintry shots.


The only thing left to do—aside from dusting off the snow :o)was to stitch in a label and send it off to My Very Own Blanket in Ohio.  And I'm happy to report that that's the last time I'll be shipping a blanket to the organization, because yours truly has volunteered to be the the local (Indianapolis) coordinator.  Which means that all future do.Good and #opgivewarmth quilts that come out of this house only require a quick car ride to reach equally deserving foster children in our local community.


Thanks again for stopping by, and I hope you have (or have had) time to peruse the other quilts "hanging" in the show :)


Tuesday, May 6, 2014

selvage play

As some of you know, I'm on a self-imposed, non-necessity fabric buying ban until I make a dent in my selvage stash.  Back when I made that commitment, I envisioned finishing the selvage 16-patch I started last spring and calling it a success.  (The idea being that it'd be impossible to finish that particular quilt if I kept adding new selvages to my "collection").


Then along came Victoria Findlay Wolfe's workshop prep for SewDown Nashville.  First up on the supply list?  "Scraps - a nice big, generous bag of colorful scraps."  Turns out the only (organized) scraps I had on hand at the time were about a dozen ziplocs full of color-coordinated selvages that were either too skinny or too short for my 16-patch project (I'm using 2" x 8.5" strips for those blocks).


So naturally, I gathered them up and took the whole grocerybag-ful down south last month.


Being me (and thereby predisposed to monochromatic color schemes), I initially set out to make my 15 Minutes of Play fabric from one bag at a time.  And then as I found myself working from my cool blue bag, my (hilariously entertaining) workshop neighbor Jessica (@alittlegressica) offered me a purple Lizzy House print.  I hesitated a moment, but figured what the heck, purple and blue are analogous, so I used it right away and switched back to my blues.  And then another purple came my way (this time an AMH).  And a few minutes later, Jessica handed over a generous selvage off of a mustard AMH print she was using for her own "made" fabric.  I again happily accepted, but this time proceeded to dig around for the appropriately-hued baggie so I could put it where (I felt) it belonged.

But before I could catalog that scrap, a little voice in the back of my mind said something along the lines of, "Self, VFW's whole idea of 'play' is about breaking out of your comfort zone and facing your fears head on."  So I took that mustard scrap and nestled it right next to the blue and purple strips I'd been using.  


And you know what?  I kind of like it :o)  And while I won't have Jessica around to throw in any more contrasting curve balls, I do have a nice little assortment of selvages that Daisy of Ants to Sugar just sent, so I'm thinking random pulls from those will be a nice (albeit less witty) substitute.

Of course I have absolutely no clue what these will ultimately become, but it's safe to say I'll be crossing things off my "not to do" list with each new little panel of "made" fabric.


Here goes nothing!

Wednesday, April 9, 2014

a mascot and a flag {#opgivewarmth}


As promised, I've updated the #opgivewarmth page with a few more (necessary) details, so please pop on over there for shipping information and other logistical musings.  

One thing I'd like to emphasize here is that I've changed my mind on the 12.5" block size.  Instead, feel free to send any block whose finished size is a multiple of 3.  Whether you feel like making 3" or 36" (finished) blocks, so long as you remember to include an extra 1/2" for seam allowance I'll take whatever suits your fancy!  (I think I can hear Alison audibly gasping from halfway across the world about how I've just multiplied the work for myself, but in the abstract I like the design flexibility that having a variety of sizes will afford, so let's just hope this new plan pans out in practice!)  

And while I have your attention, I wanted to share some of the designs brewing around this month's palette...


The coyote you've seen (though he's been tweaked thanks to some IG friends who pointed out a, um, sneaky detail that I'd embarrassingly overlooked).  So, moving right along, how happy am I that there's already something in the flickr group from one of you?!  Erica made the beautiful AMH feather (it's long been on my own wish list, so I can't wait to incorporate hers into one of this month's MVOB quilts!)  Extra bonus?  I've seen snippets of another block in the works from Aoife of thREDhead (also, I love that she provides a clip of how to pronounce her name over on her blog; I was totally saying it wrong in my head).  

And because I was in a bit of a pink-y mood after strip-piecing stripes and testing out those geese for my friend Amanda of Material Girl Quilts, I decided some little HSTs featuring my all-time favorite AMH print were in order (field study sundials in glow, for those who are wondering).  A little inadvertent scattering on my desk (the present holding cell for this project) ultimately led to this pseudo-patriotic affair...


Ironically, my motto as a little girl was "Say no to pink."  Suffice it to say, I'm sort of smitten that this little flag stands for just the opposite.  I can only hope it finds its way to a little kid who's more openminded to the color than I was at that age.  ;o)

Linking up with Lee.  Thanks for stopping by!

Sarah

Friday, March 21, 2014

shoot for the stars {radiant goals}

Note:  Edited to sprinkle some "stained glass"-esque shots throughout :)

I was really excited about the Pantone Quilt Challenge this year.  And not only because the talented twosome of Anne of Play Crafts and Adrianne of On The Windy Side were our new proud and fearless hosts.  But also because I've sort of been hoarding purple fabrics.  ...Since I started stashing.


So last month, I thought I was ahead of the game when I decided to sketch out a couple of concepts.  And then life happened, other projects took priority, and before I knew it, I had one week left and two stacks of uncut fabric pulls. (Ruh roh.)  And then, out of the blue, my friend Heather of Crimson Tate asked if I would be available to fill in for a guild speaker who had something come up at the last minute.  (Déjà vu?)  I happily obligedeven though it'd cost some pantone-purple sewing timeand quickly decided to demo my {free} paper-pieced arrow pattern for the (our) Indy Modern Quilt Guild.

Sidebar:  I extended the shaft section of the pattern to the height of the page (~11"), and added a few improv stripes and band.

When it came time to prep that weekend (there are things I plan for, folks!), I decided to cut into a few odd-shaped scraps from my liberty (and justice for all) DWR, some leftover oakshotts from this {sweet as honey} quilt, and of course—being a connoisseur of farm-to-stash feedsacks—, a cream-colored sack of Midwestern origin for the background.

As for the presentation itself, I was on cloud nine.  (I might be an attorney by trade, but I'm always up for some quality chats and collaboration with fellow creatives.  And I mean always.)  So much so, that when I got home and reality set in that radiant '(k)id and radiant {koi} couldn't possibly be completed (well) by the challenge deadline, I set my sights on something new.  And then noticed that my arrow-heart had the perfect touch of orchid-purple. 


Serendipity :)  So I just started piecing mini-stars from my liberty and oakshott scraps, drawing upon a few other feedsacks for the background (I've been hoarding a somewhat tattered collection for Tula's city sampler blocks, but thanks to addictive ebay habits there's still plenty where those came from).


So by Wednesday I found myself with a purply-blue arrow and twenty-some odd stars in various stages of completion.  Surprisingly, I knew early on (read: Tuesday) that I wanted—for perhaps the first time ever—to avoid a straightforward grid structure (gasp!).  So I scattered the stars across the floor, cut a host of 2" strips from the feedsacks to fill in the background (à la gypsy wife), and starting piecing them in the best way I thought possible:  at random.  The end result?  (As my IG peeps have already seen...)


"Shoot for the stars."  (It seemed to appropriately capture my sentiments about the events leading up to this design, what with the lofty daydreams of a wholeheartedly creative life and whatnot.)  It measures a somewhat obscure 40" x 61", but I suppose that's what happens when you (I) improvise.  ;o)


The only outstanding question?  How to quilt it.  (!)  My thoughts?
—Tight straight lines in Aurifil on a diagonal (like this other (pseudo) pantone shooting star design) or
—Chunky, organic hand quilting with perle 8 to complement the rustic background (like the other arrow quilt)


Feel free to share yours if you have ideas for me!  And go on and take a look at all the glorious quilts that are painting Play Crafts and On The Windy Side purple these days, or check out #pantonequilt over on IG.  Plenty of inspiration to go around!

2014 Pantone Quilt Challenge


xo